The safest way to install Windows 11 on an eligible Windows 10 PC is to wait until Windows Update offers it. For a new build, reinstall, or controlled clean installation, create official media from Microsoft's Windows 11 download page. In every case, verify compatibility, back up your files, and confirm the edition your license covers before starting.
Before you begin
An operating-system installation changes the most important software on the computer. Take a few minutes to reduce avoidable risk.
- Check compatibility. Run Microsoft's PC Health Check and review our Windows 11 system requirements guide.
- Back up important files. Keep the copy on storage that will not be erased or disconnected by mistake.
- Verify your backup. Open a few copied files and confirm any recovery process you depend on.
- Save encryption recovery keys. If BitLocker or Device Encryption is on, make sure you can retrieve the recovery key.
- Confirm the edition. A Home license activates Home; a Pro license activates Pro. Read our Home vs Pro comparison if you have not chosen yet.
- Use reliable power and internet. Plug in a laptop and avoid interrupting setup.
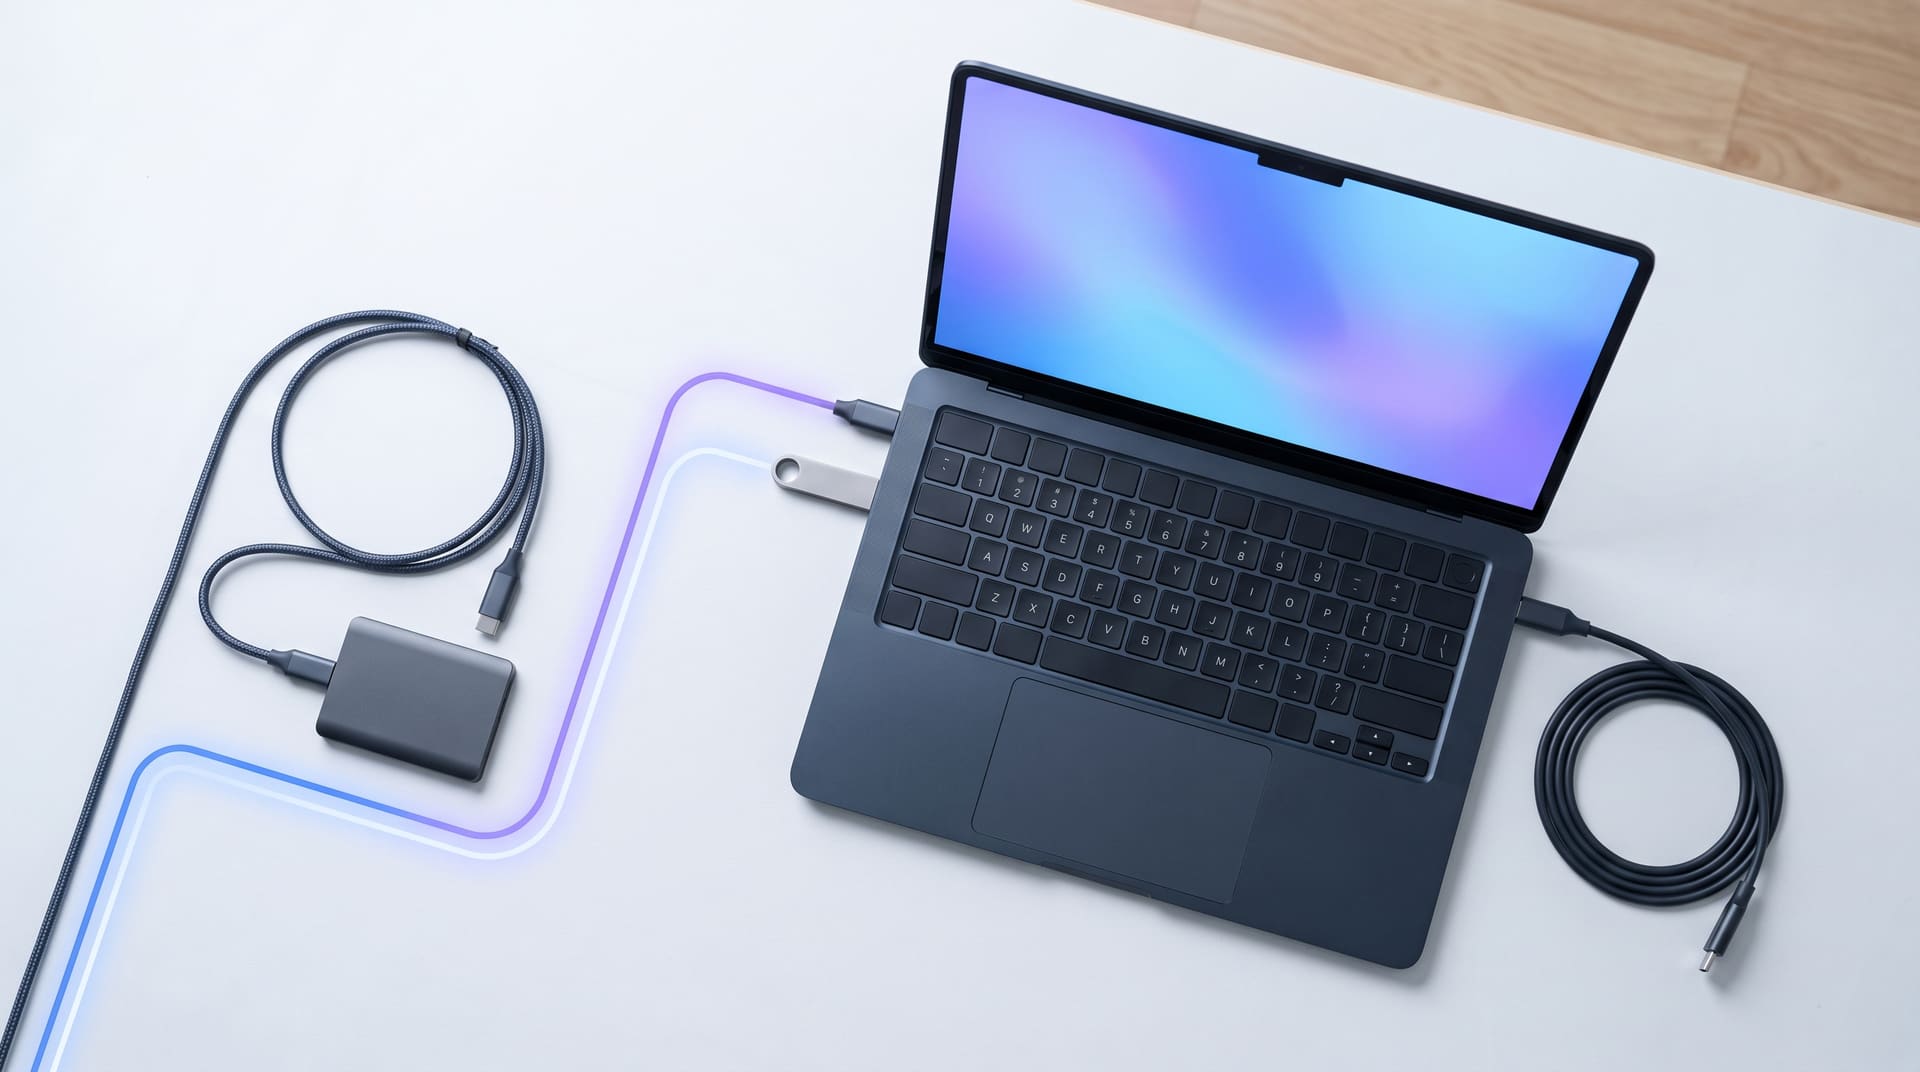
- Disconnect unnecessary external drives. This reduces the chance of selecting or altering the wrong disk during a clean installation.
Warning
A clean installation can erase applications, settings, and personal files. Do not continue until the backup is complete and you can identify the correct destination drive.
Microsoft provides the current tools and notices on its Download Windows 11 page. Use that page, Windows Update, or your device manufacturer's approved recovery process. Avoid unofficial ISO downloads and modified installers.
Method 1: Upgrade through Windows Update
Windows Update is the recommended route for an existing eligible Windows 10 PC because Microsoft can account for the device's rollout status and known compatibility issues.
- Open Settings.
- Select Update & Security > Windows Update on Windows 10.
- Select Check for updates.
- If the Windows 11 upgrade is offered, select Download and install.
- Read and accept the applicable license terms.
- Let Windows download the upgrade, then restart when prompted.
The PC will restart several times. Keep it connected to power. After sign-in, check your files, applications, network connection, and activation status.
If Windows Update does not offer Windows 11, do not assume the check is broken. The PC may be incompatible, controlled by an organization, or temporarily affected by a safeguard hold. Microsoft's upgrade guidance recommends waiting until Windows Update says the upgrade is ready.
Method 2: Use Windows 11 Installation Assistant
Installation Assistant performs an in-place installation on the PC where it is run. It is useful when the device qualifies but Windows Update has not yet started the upgrade and no documented safeguard issue applies.
- Visit Microsoft's Windows 11 download page.
- Under Windows 11 Installation Assistant, select Download Now.
- Run the downloaded tool as an administrator.
- Allow it to verify hardware compatibility.
- Accept the terms and follow the prompts.
- Restart when requested and allow setup to finish.
Close applications before starting. The assistant needs sufficient free disk space and may download several gigabytes. If it reports an incompatibility, investigate that result instead of trying to bypass it.
Method 3: Create a bootable Windows 11 USB drive
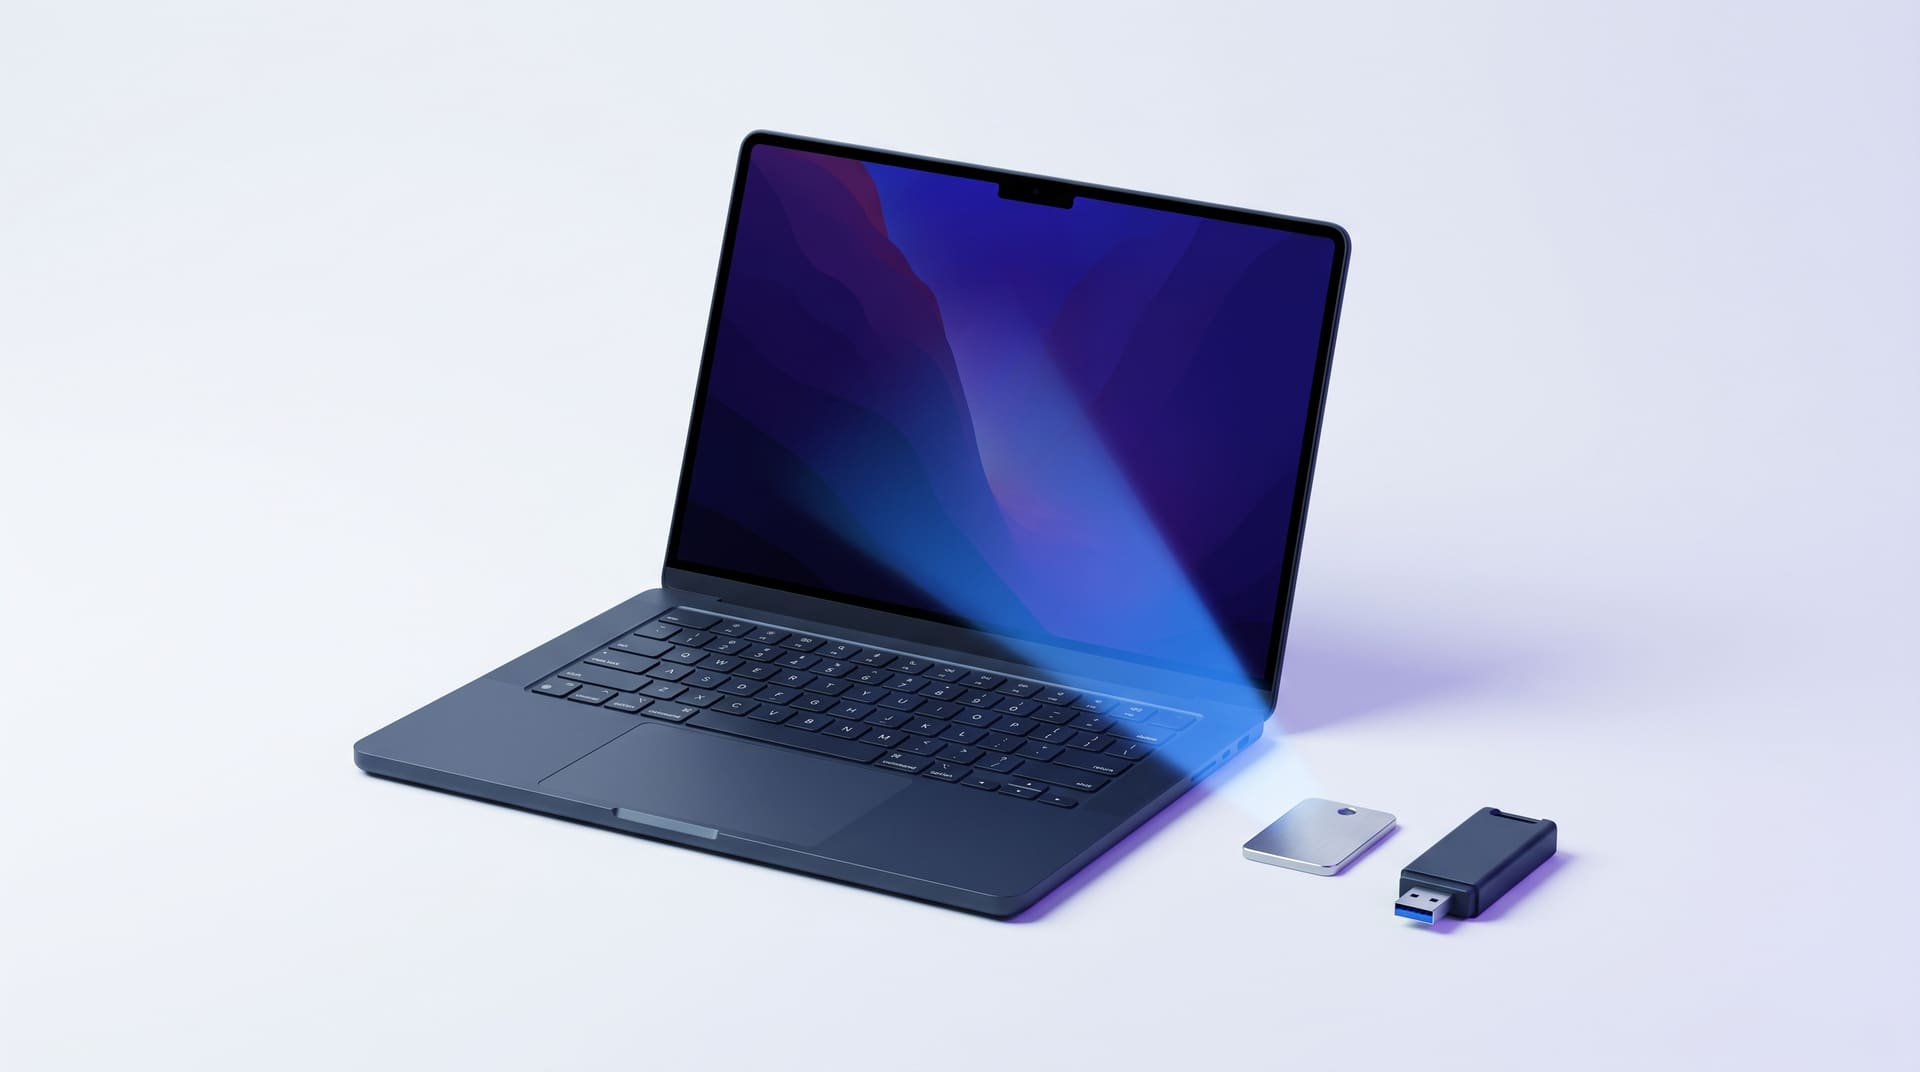
Official installation media is appropriate for a new PC, a replacement drive, or a clean reinstall. You need a blank USB flash drive with at least the capacity Microsoft specifies on the download page; its contents will be erased.
Create the media
- On a working Windows PC, open Microsoft's Windows 11 download page.
- Under Create Windows 11 Installation Media, select Download Now.
- Run the Media Creation Tool.
- Accept the license terms.
- Confirm the language and edition.
- Choose USB flash drive.
- Select the correct removable drive and let the tool finish.
Label the USB drive when complete. Do not add unofficial activators, unattended scripts, or modified system files.
Start the target PC from USB
- Insert the USB drive into the target PC.
- Turn on or restart the PC.
- Open its one-time boot menu or UEFI settings using the manufacturer's key.
- Select the UEFI entry for the USB drive.
- When Windows Setup appears, confirm language and keyboard settings.
- Select Install Windows 11 and follow the prompts.
Boot-menu keys vary by manufacturer. Consult the device documentation rather than changing unrelated firmware settings.
Choose upgrade or clean installation carefully
When setup is launched from an existing compatible Windows installation, it can offer an upgrade path that preserves supported files and applications. When the PC is booted directly from USB, the custom-installation workflow is designed for a clean installation.
During a clean install, Windows Setup shows disks and partitions. Deleting or formatting a partition destroys data on it. If you cannot confidently identify the intended system drive, cancel and get help before proceeding.
Microsoft's reinstallation guide explains what different reinstall choices keep or remove.
Method 4: Use an official Windows 11 ISO
Microsoft also offers a multi-edition ISO on the Windows 11 download page. An ISO is useful for a virtual machine, for creating media with an approved tool, or for mounting inside Windows to start setup.
After downloading, use Microsoft's published checksum information when
available to verify file integrity. Mounting the ISO in an existing Windows
installation and running setup.exe begins an in-place setup flow; booting media
created from it begins the clean-install flow.
An ISO does not include a license. Downloading Windows and obtaining the right to activate it are separate steps.
What to do when setup asks for a product key
Enter a genuine 25-character product key when you have one and the prompt is appropriate. On a device that already has a matching digital license or a key embedded by its manufacturer, setup may apply the edition automatically or let Windows activate online afterward.
If setup offers I don't have a product key, you can continue and activate later—but you must select the edition that matches the license you intend to use. Installing Pro and then entering a Home key will not activate the Pro installation.
For a reinstall on the same device, Microsoft says you can reinstall the same edition without entering a product key when it already has a digital license. See Microsoft's activation documentation and our Windows 11 activation guide.
Complete the first-run setup
After Windows copies files and restarts, it guides you through region, keyboard, network, account, privacy, and security choices. Read each screen rather than accepting defaults automatically.
Current Windows 11 setup requirements can vary by edition, intended use, and Microsoft policy. Have an internet connection and the appropriate Microsoft or organizational account available. If the device belongs to an employer or school, stop and follow its enrollment instructions.
Once you reach the desktop:
- Open Settings > Windows Update and install available updates.
- Restart and check for updates again until no important updates remain.
- Install device-manufacturer drivers only where Windows Update has not supplied the required support.
- Open Settings > System > Activation and verify activation.
- Check Device Manager for unresolved hardware.
- Reinstall applications from trusted sources.
- Restore personal files from the backup.
- Confirm security, backup, and recovery settings.
Common installation problems
“This PC can't run Windows 11”
Run PC Health Check. Inspect the exact failure—processor support, TPM 2.0, UEFI, Secure Boot, memory, or storage—before changing anything. Do not treat an activation key as a compatibility fix.
Windows Update does not offer the upgrade
Install current Windows 10 updates, run PC Health Check, and review any notice shown by Windows Update. A safeguard hold may be protecting the device from a known problem. Waiting is safer than forcing the upgrade.
Setup cannot find a drive
The storage controller may require a manufacturer driver, or the firmware storage mode may not match the installed system. Do not randomly delete partitions or change controller modes. Check the PC or motherboard support documentation.
The PC keeps returning to the installer
After the first restart, remove the USB drive when setup no longer needs it or restore the internal disk as the first boot device. Do not restart the clean installation from the beginning unless setup has failed.
Windows installs but does not activate
Confirm the installed edition, internet connection, activation status, and key source. Hardware changes can also affect a digital license. Follow the official Activation Troubleshooter before reinstalling again.
Frequently asked questions
Will installing Windows 11 delete my files?
An eligible in-place upgrade is designed to preserve files and supported applications. A clean install can erase them. Back up and verify important data before either method because no installation is risk-free.
Can I install Windows 11 without a product key?
Setup may allow installation without entering a key immediately. That does not grant a license. Install the edition that matches your digital license or valid product key, then activate Windows.
Should I use Windows Update or a USB drive?
Use Windows Update for a normal upgrade on an eligible existing PC. Use official USB media for a new build, replacement drive, or deliberate clean installation.
Can I install Windows 11 on an unsupported PC?
Microsoft does not recommend it and does not guarantee updates for unsupported devices. We do not recommend bypassing the checks. Use supported hardware for a reliable, maintainable installation.